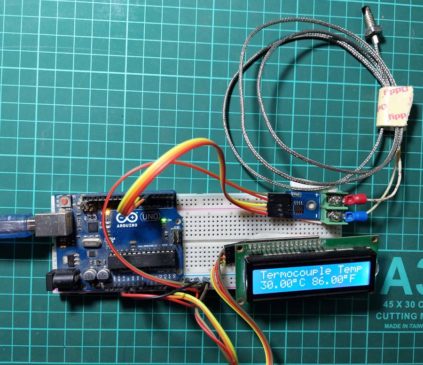
How to Arduino Thermocouple Interface: In this article, you will learn about interfacing K-type thermocouples and display temperature in Celsius and Fahrenheit on I2C LCD. Introduction of Thermocouple A thermocouple consists of a pair of dissimilar metal wires joined together at one end, called a sensing junction, and terminated at the other end, called the reference junction which is maintained at a known constant temperature called the reference temperature. When the sensing junction and the reference junction are at different temperatures, a potential difference gets produced which causes a current…
Read MoreCategory: Electronics Projects
Lithium Ion Battery Charger Circuit using LM317
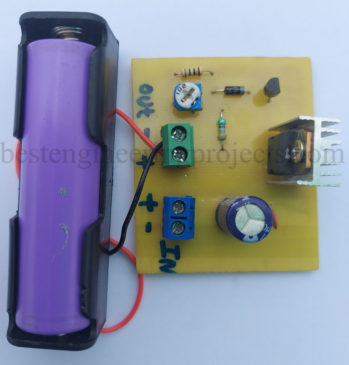
A Lithium-Ion Battery Charger Circuit using LM317 charges the battery in two different modes: constant current mode and constant voltage mode. Lithium polymer or lithium-ion batteries are very prone to overcharging or charging with high voltage or high current. Thus, when designing the charger circuit for Li-ion or Li-Po, we must consider a few things, such as charging voltage and current. The circuit posted here is designed using one of the famous variable voltage regulators, IC LM317. This circuit charges the battery in two modes, i.e., constant current and voltage.…
Read MoreAutomatic Submersible Pump Controller Circuit
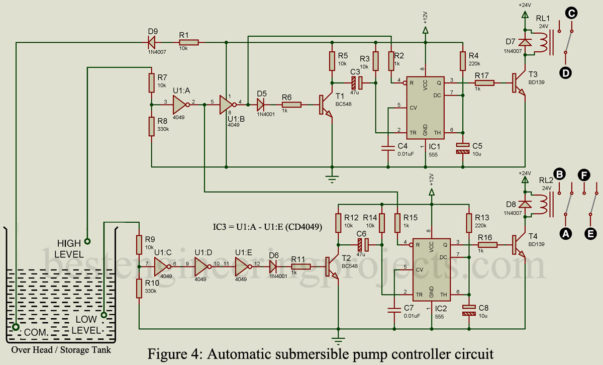
The automatic submersible pump controller circuit posted here is used to automate the operation of an electrical submersible pump (ESP) based on the level of water in the overhead tank. The Automatic submersible pump controller circuit can be used as a standalone system and can be interfaced with the existing manual control panel. Introduction to electrical submersible pump (ESP) Electrical submersible pumps, often called ESP are single or multiple-stage radial flow pressure series impeller pumps that are closely coupled to the motor for low and medium heads. ESPs are efficient…
Read MoreDigital Power Supply Circuit
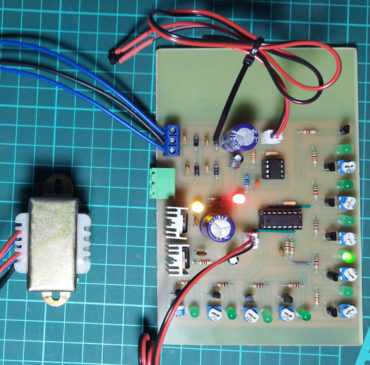
Most of us hear about the variable power supply, it is a power supply unit that provides almost all standard power supplies. How’s that if we combine a variable power supply and a digital control technology. Here, we have designed and verified a DC power supply circuit with the facility of digital control. The unit digital power supply circuit provides a variable, fluctuation-free and regulated ten different DC power supplies. These are 1.5V, 3V, 4.5V, 5V, 6V, 7.5V, 9V, 10.5V, 12V positive power supply, and 12V negative power supply. One…
Read MoreAutomatic Lead Acid Battery Charger Circuit
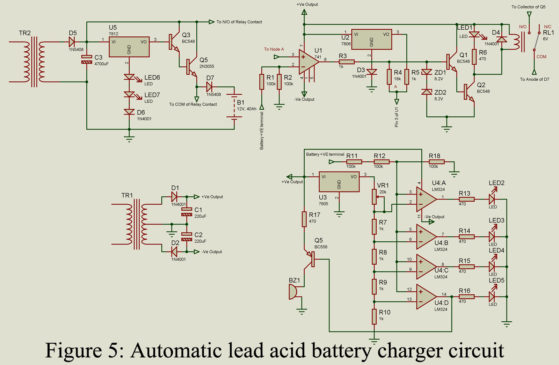
An automatic lead acid battery charger circuit is designed to charge 12V, and 40Ah in different charging modes i.e. boost mode and float mode. This circuit can be used to charge large-capacity inverter batteries by replacing transformers and power transistors with higher ratings. To know the condition of the battery and charger unit, this circuit was incorporated with an audiovisual indication unit. Before going to the circuit description and working let’s see its salient features: Features of Automatic Lead Acid Battery Charger Circuit Automatic charger the battery and maintain the…
Read MoreWater Temperature Controller Circuit
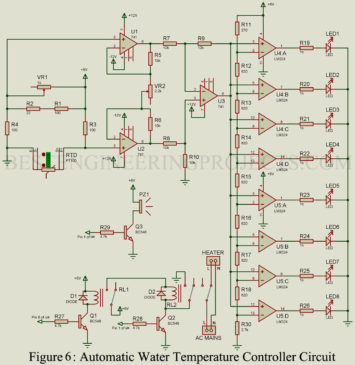
The article posted here is of Water Temperature Controller Circuit based on PT100. For temperature indication, a LED bar graph designed using 8-LEDs is used. PT100 is a temperature transducer that produces changes in impedance whenever the temperature changes. It has definite resistance at each temperature within its temperature range because it is made from temperature-sensitive elements. The reasons for using platinum type temperature transducers are cheap, high stability, and wide operating temperature range i.e. -1800C to 800C. Check out the article on Resistance Type Thermometer PT100 is a probe…
Read More10 Band Graphic Equalizer Circuit
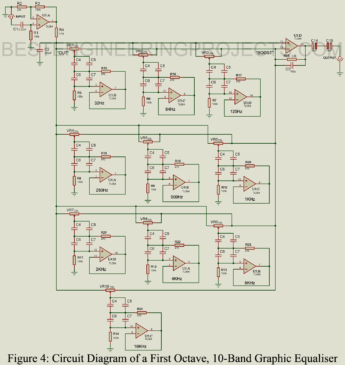
This article is dedicated to those who want to make their high-quality low distortion 10 band graphic equalizer circuit. Before going to the circuit and it’s working let’s understand an equalizer and its types. An equalizer is simply a device that is attached to an instrument and with the help of this equalizer, we can set bass, middle, or treble. Sound or audio has a spectrum where frequencies are classified into different ranges. So, what are these bass, middle and treble? These are the range of frequencies, where the bass…
Read MoreDual Microphone Preamplifier Circuit
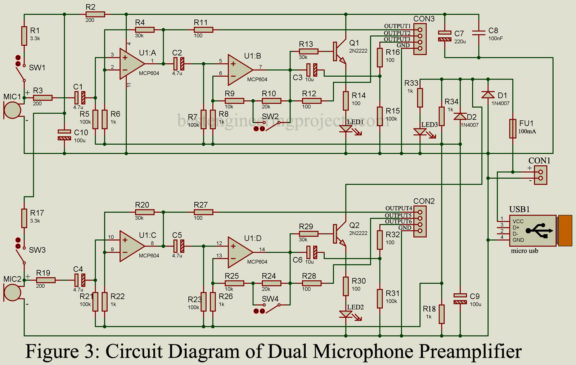
The microphone is a transducer that converts sound signals to electrical signals. The output electrical signals are very weak ranging from 1 millivolt to 100 millivolts. Microcontrollers like Atmega328 (Arduino), PIC, STM, etc. cannot detect this signal effectively. Thus, we need an amplifier section. The project posted here is of dual microphone preamplifier circuit which amplifies lower electric output signals of the microphone and makes it suitable for microcontroller input. Checkout other microphone amplifiers and preamplifier circuits posted in bestengineeringprojects.com Dynamic Microphone Preamplifier Circuit Microphone Amplifier using Op-amp 741 IC…
Read MoreLiFePO4 Battery Charger Circuit
Lithium Iron Phosphate LiFePO4 or Li-Fe battery is the latest generation of Li-ion battery and is popular among electronics hobbyists because of its features like high discharge current rate, safety and it is the least toxic of all battery types. Also, these batteries are safer because of the chemistry involved to make them. It contains a very stable composition of phosphate as a result longer life span of the battery can be achieved. However, the latest generation Li batteries are non-inflammable and are capable of bearing extreme conditions. In this…
Read MoreAutomatic Street Light Circuit Diagram
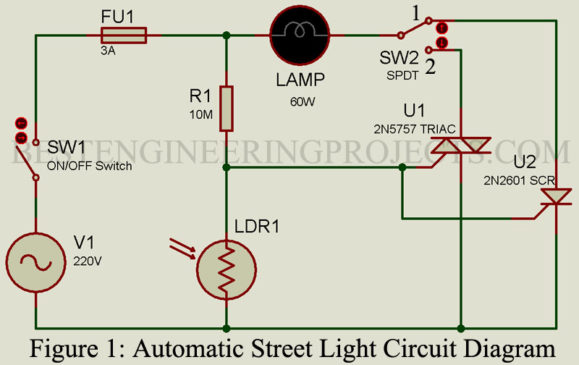
The article automatic street light circuit diagram is self-sensing fully automatic night lamp designed to work with AC. Unlike other circuit it does not require DC thus no rectifier and bulky capacitor and as a result making cost will be cheap. One can use this circuit with street light, dome lamp, parking light etc. this simple circuit switch on the light at night and off automatically at day time. Description of Automatic Street Light Circuit Diagram This simple project is built around four common available components i.e. resistor, LDR, SCR…
Read More