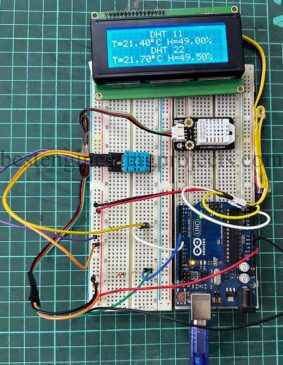
Temperature and humidity monitoring is an essential aspect of IoT, smart agriculture, industrial automation, and home automation systems. DHT11 and DHT22 are two widely used low-cost temperature and humidity sensors that offer digital output and are easy to interface with microcontrollers like Arduino, ESP32, and Raspberry Pi. We’re gonna tear these sensors apart (not literally, please), see how they tick, and, most importantly, learn how to hook ’em up with Arduino for your next project. By the time you finish this guide, you’ll know: How these sensors actually work. The…
Read MoreCategory: Arduino Projects
How to Build an AC Power Monitor Using Arduino and ACS712
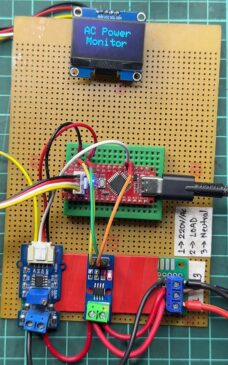
Electricity is a mystery. We use it, we pay for it, but do we really understand how much each device is consuming? Ever felt like your electricity bill was higher than it should be, but you couldn’t pinpoint the culprit? Well, my friend, today we’re gonna unmask those energy-hogging appliances by building an AC Power Monitor using Arduino and ACS712! This little DIY project is like giving your home X-ray vision for power usage. You’ll be able to measure voltage, current, and power consumption in real time. And, as a…
Read MoreArduino Countdown Timer with Menu, EEPROM, and Buzzer Alerts
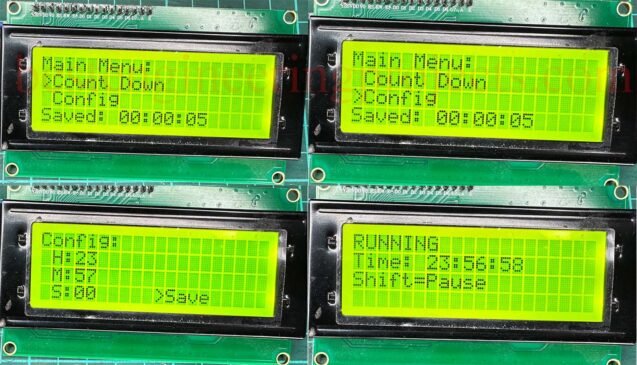
This project is perfect if you’ve ever wondered how to build a user-friendly countdown timer with an interactive menu, memory storage, and buzzer alerts. This step-by-step guide will walk you through creating an Arduino countdown timer using an I2C 20×4 LCD, push buttons, and a buzzer. The functions of this timer include setting and saving the countdown time, pausing and resetting, and even with buzzer notifications loudly when the time is up. This project is great for beginners, but it’s also feature-packed for advanced makers. In addition, it uses EEPROM to store your settings, so your countdown configuration will survive even when power is lost. Let’s get started! Why Build an Arduino Countdown Timer? Timers are an integral part of a wide variety of activities, from cooking and workout routines to the operations in industry. While there are many timers commercially available, building your own enables feature customization, serves as an introduction to learning about…
Read MoreArduino Fastest Finger First Game with LEDs and Reset Button
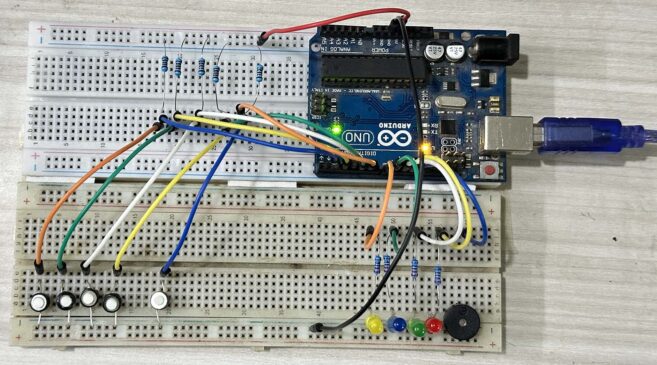
Have you ever had one of those moments where you’re competing with friends and wish there was a fun way to see who got the fastest reflexes? Here’s your answer: an Arduino-based Fastest Finger First game with LEDs! There are no complex displays, no 7-segment numbers to deal with—just good ol’ LEDs lighting up for the winner and a dedicated reset button to start fresh. If you’re a fan of simple yet engaging DIY projects, this one will light up your world—literally and figuratively. So, let’s dive in! What’s This…
Read MoreArduino Light Meter: Measure Ambient Light with OLED Display
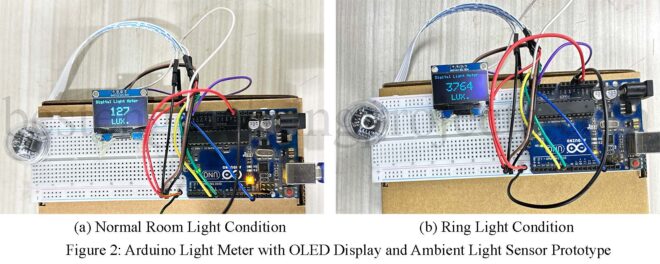
Ever found yourself squinting at a bright day, thinking, “How much light is actually hitting my face?” Well, using an Arduino light meter that guesswork is gone. You’re practically giving your Arduino a pair of shades, but this one isn’t there to block the light-it’s there to measure it. Sounds cool, right? Let’s dive in. Why Build a Light Meter? Imagine having a gadget that tells you how bright your workspace is, or whether your plants are getting enough sunlight. That’s the power of this little project. Using an ambient…
Read MoreHow to Use ESP32 Deep Sleep Mode for Battery-Powered IoT Projects
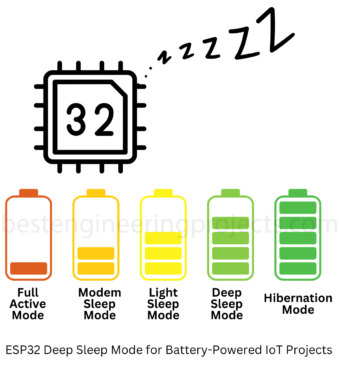
The ESP32 is one of the best choices for IoT projects because of its built-in Wi-Fi, Bluetooth, and energy-saving features. In battery-powered applications, deep sleep mode is especially useful for reducing power consumption while the device waits for a trigger to wake up. The following tutorial covers how to implement deep sleep mode, discuss differences from other low-power modes like light sleep and hibernation, configure wake-up sources, and manage data across sleep cycles to help IoT devices with long runtime on a single charge. Why Use Low Power Modes? Low-power…
Read MoreESP32 Temperature and Humidity Meter with Real-Time Display
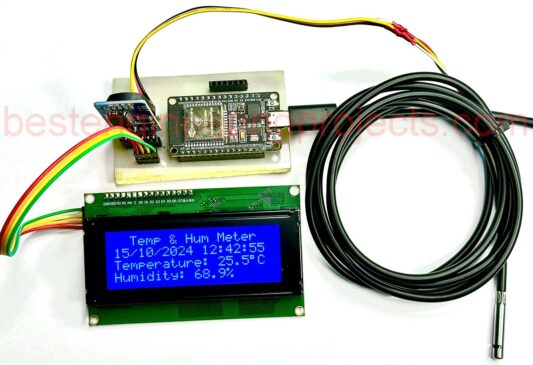
Are you looking for an easy project to monitor environmental conditions in real-time? This project will show you how to create an ESP32 Temperature and Humidity Meter whose readings will be received in real-time. This small, inexpensive project requires the ESP32 microcontroller, CHT8305 temperature and humidity sensor, a 20×4 I2C LCD display, and a DS3231 Real-Time Clock (RTC) module. The system toggles: it will present the current temperature, humidity, date, and time for 10 seconds and then show the maximum and minimum values of the temperature and humidity for 5…
Read MoreBuild a Temperature, Humidity, and Dew Point Data Logger with ESP32
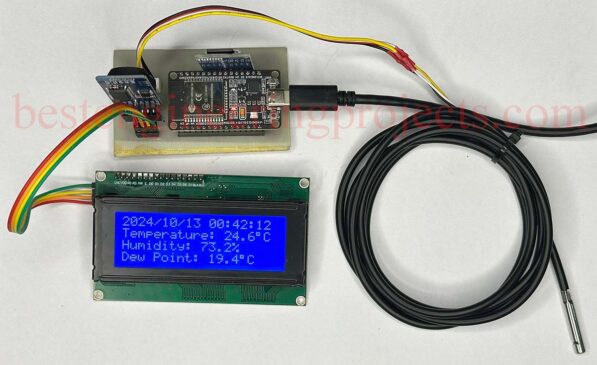
In this project, we will build a temperature, humidity, and dew point data logger with ESP32. This system will show the current time on a 20×4 LCD along with temperature, humidity, and dew point and periodically log the data on an SD card. In the design, an ESP32 microcontroller is used, together with a DS3231 RTC module for correct time representation and a CHT8305 sensor for temperature and humidity readings. The temperature, humidity, and dew point data logger with ESP32 is a versatile project useful in applications such as environmental…
Read MoreSD Card Interfacing with ESP32
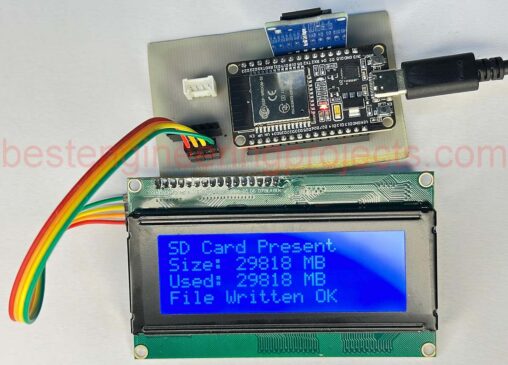
In embedded systems, time information is monitored through logging and data storage. Most microcontrollers, including ESP32, can store sensor readings, logs, or configuration files on SD cards. In this tutorial, we will explain how to interface an SD card with the ESP32 microcontroller and display the card’s status along with volume on a 20×4 I2C LCD. We will then create a text file on the SD card and write some data. Figure 1: Components of esp32 and SD card Interfacing Hardware Components Required ESP32 development board SD card module SD…
Read MoreHow to Interface Multiple I2C LCD to Arduino
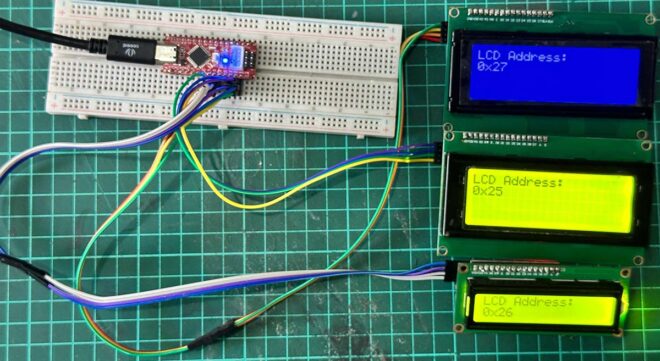
Sometimes, we must connect multiple LCDs to Arduino to display parameter readings or messages. In the tutorial “How to Interface Multiple I2C LCDs to Arduino,” you will learn how to interface multiple 16×2 I2C LCDs to your Arduino. After completing this tutorial, you will able to know: Select a different address for a 16×2 or 20 x 4 I2C LCD. How to interface multiple I2C LCDs with your Arduino? How to select a different address for different 16×2 LCD We have to configure some hardware to select the address of…
Read More