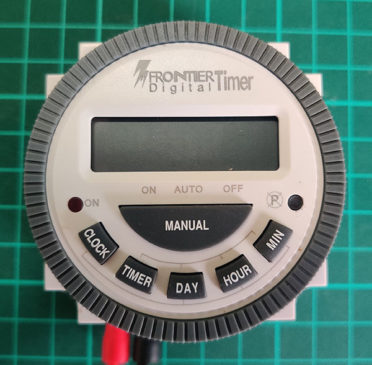
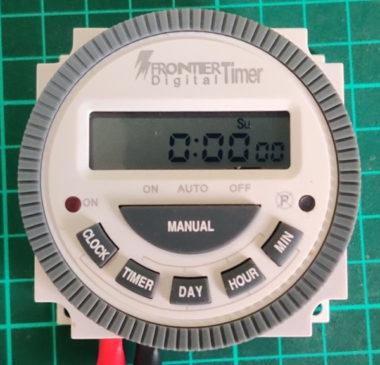
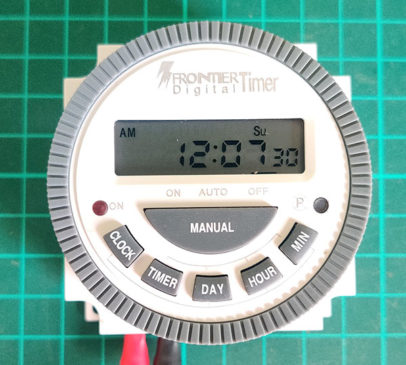
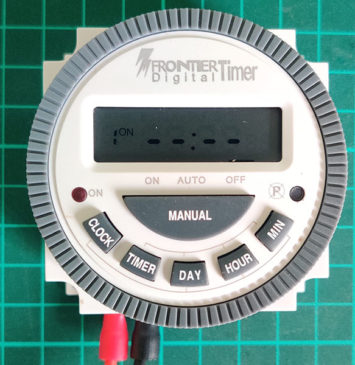
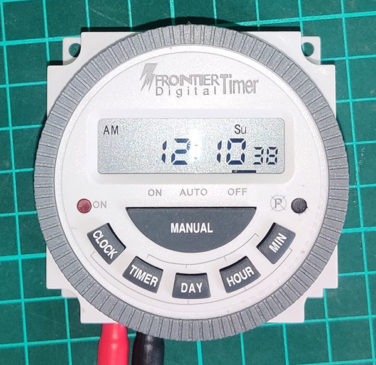
How to Setup Digital Programmable Timer TM-612
Performing a simple task like turning ON/OFF a system every day just by pressing a button can become tedious when you have to travel long distances to do it. This can cost time and sometimes even money if there are hurdles when traveling.
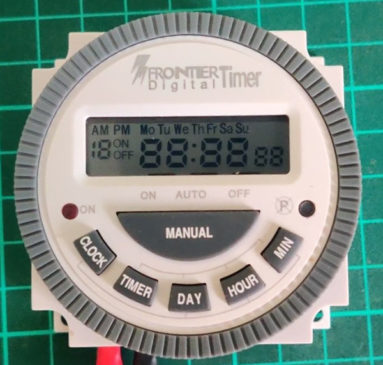
So, introducing “TM-619-2” from Frontier, A Multipurpose 7 Day Programmable Digital Timer. This digital timer has a wide range of power supply options: – 240Vac main supply, 120Vac main supply, 24Vac or 24Vdc, 12Vac or 12Vdc. The digital timer comes with a replaceable, Lithium CR2032 or rechargeable V40H battery for backup power so that you can program the timer without an external power supply.
Other exciting features of TM-619 are: For better user convenience, the digital timer comes with 8/15 different combinations of daily programs for the desired DAYs of WEEK. We are also able to program numerous events (i.e., 1 ~ 8 or 1 ~ 16; “ON-OFF” events) per day according to the module you have chosen. The programming of an event can be assigned a 1-minute or 24 hours long event duration. The module we are going to set up here has a total of 16 “ON-OFF” events.
Check out the other timer projects
- Industrial Timer Circuit
- Programmable Digital Timer Circuit
- 24 Hour Digital Clock and Timer Circuit
- Countdown Timer Using Arduino
Before starting the programming procedures, some points to remember are:
- The timer has a “MANUAL” button for manual action i.e. ON-OFF.
- The timer is in 24-hours format (By default) but can be adjusted to 12-hour format (AM/PM).
- The timer can be set to the lowest event duration of 1 minute only.
- There are different timer models having different capabilities for storing multiple events. The one we are using has the capability of storing: 1~16 events per day.
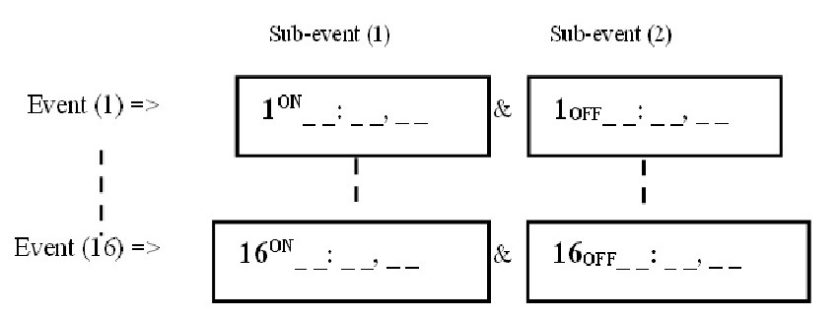
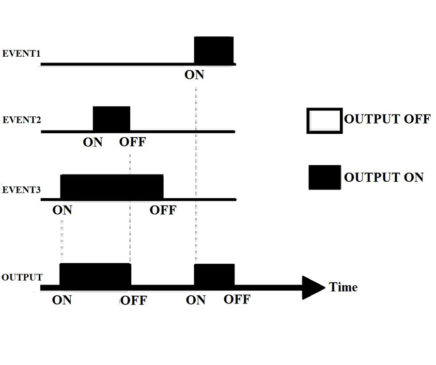
- Each event comprises a pair of, “ON”-timing and “OFF”-timing sub-events. And the combined execution of multiple events is as shown below:
Figure 1: Event Timing
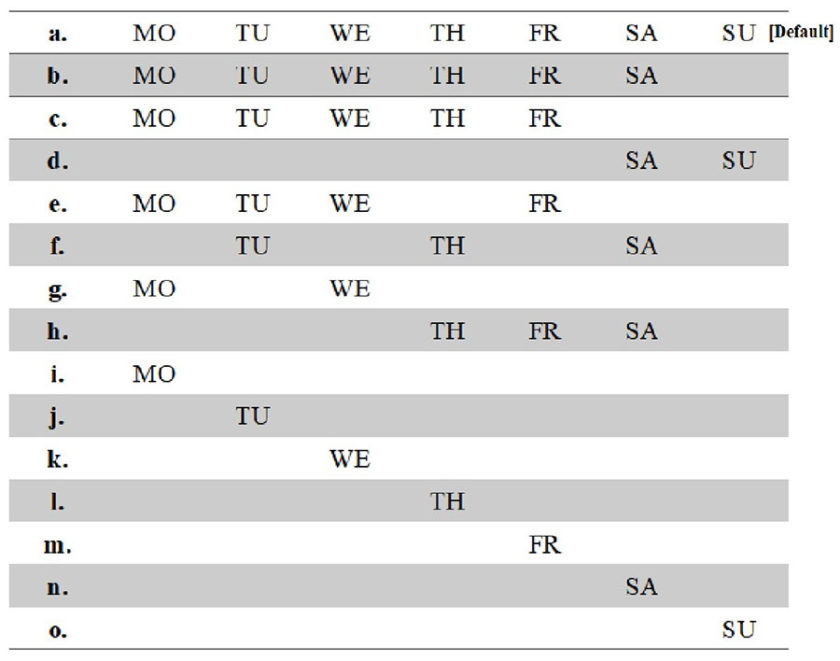
- The 15-combination for desired DAYS of WEEK are:
Table.1: Available combinations for Days of Week
Procedure for Setup Digital Programmable Timer TM-612
Step 1: Connect the AC power supply to the Live pin and Neutral pin (pins 1&2), respectively.
Step 2: Check the display of the Timer. Do you see some counting digits? If you see some digits, then you can skip step (2) and jump to step (3).
But, if you don’t see any digits, then that means the timer is in “SLEEP MODE” [Note: This is done to save the battery life of the CR2032 coin battery]. So, Press the reset button=> for 1 second, and the timer display should turn on.
Figure 5: Step-2.1.2
Figure 6: Step-2.1.3
Step.3. Setting the time format [24-hour or 12-hour (AM/PM)]:
- If you want the timer to operate in 24-hour format, then ignore the below steps and jump to step (4).
- But if you want, set the timer in a 12-hour format. Press the “CLOCK” button for 3 seconds. Then inspect if there is an “AM” icon on display. If yes, then this means the timer is now in 12-hour format.
Figure 7: Step-3.B
Step.4. Now press the “TIMER” button once, to reach the setup of 1st event; [i.e., event (1)]
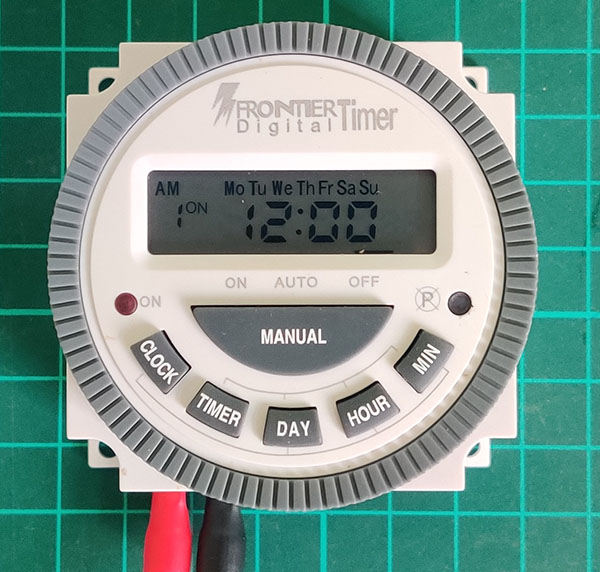
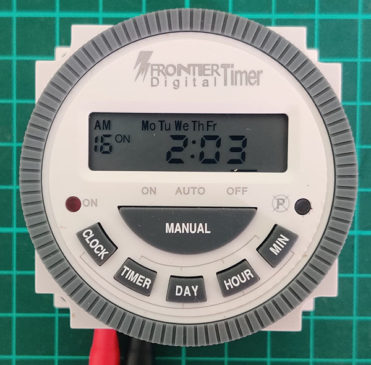
- After the first press of the timer button, you are directed to sub-event 1ON and the display now shows the following figure:
Figure 8: Step-4.A
2. Now we press the “DAY” button to choose a suitable one out of the available 15-combinations, as shown in Table.1. Pressing the “DAY” button repeatedly will iterate our choice for the sub-event (1ON).
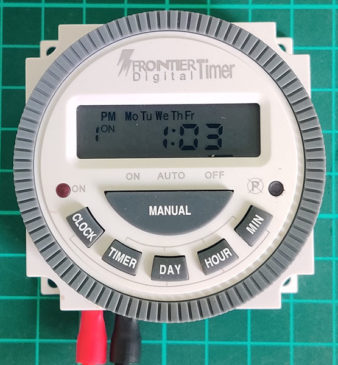
Figure 9: Step-4.A.a
3. After choosing a suitable combination, we press the “HOUR” and “MIN” buttons to set the desired timing for the execution of the sub-event (1ON). Since the time is in 12-hour format, the display shows the AM or PM icon on the top-left.
Figure 10: Step-4.A.b
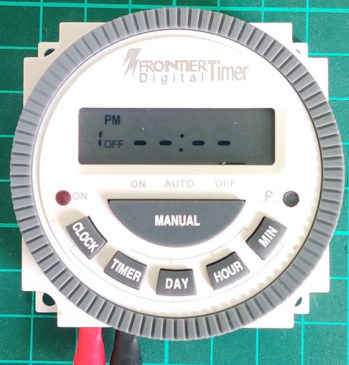
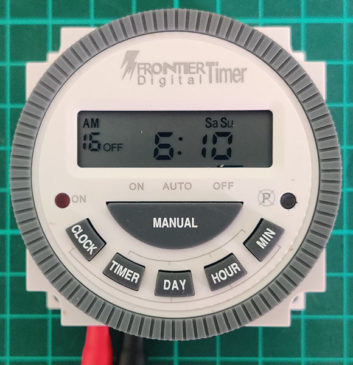
4. After finishing the setup for the (1ON) sub-event, we program for the (1OFF) sub-event. Press the “TIMER” button once, then you are directed to the sub-event (1OFF). The display now shows:
Figure 11: Step-4.B.1
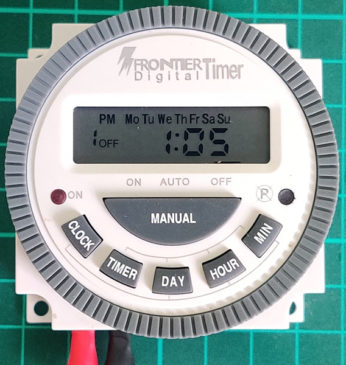
Now, press the “DAY” button to choose a suitable combination, and then press the “HOUR” and “MIN” buttons to set the desired timing for the sub-event (1OFF).
Figure 12: Step-4.B.2
[NOTE: If you want to set up only one event, then you can stop here by pressing the “CLOCK” button and the execution of the event’s set up till now.]
Step.5. Now if you want to program more events, you can press the “TIMER” button once, to reach the setup of the 2nd event; [i.e., event (2)].
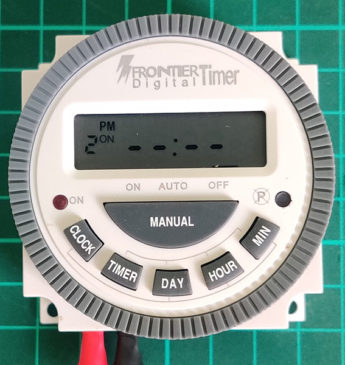
Figure 13: Step-5.1
Then you can repeat the programming step (4. A) & step (4. B). The LCD display will show:
Figure 14: Step-5.2.1
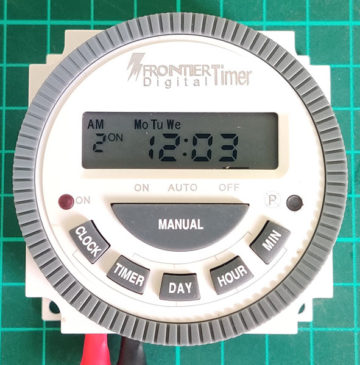
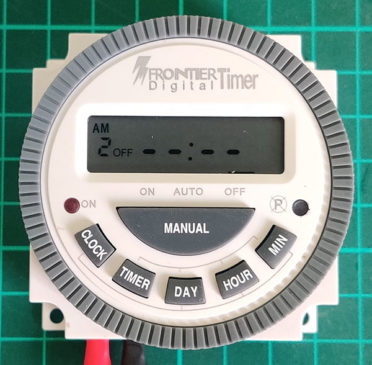
Figure 15: Step-5.2.2
Figure 16: Step-5.2.3
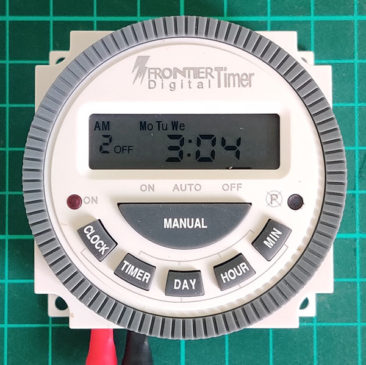
Similarly, all 16 events can be programmed successively by repeating Step (4) and Step (5).
Figure 17: Step-5.3.1
Figure 18: Step-5.3.2
Then press the “CLOCK” button to exit setup.
Step.6. We can also modify, the “DAYS of WEEK” combination or timing for a particular event. For that just press the “TIMER” button and follow the same programming procedures from Steps (4) & (5) and press the “CLOCK” button to exit setup.
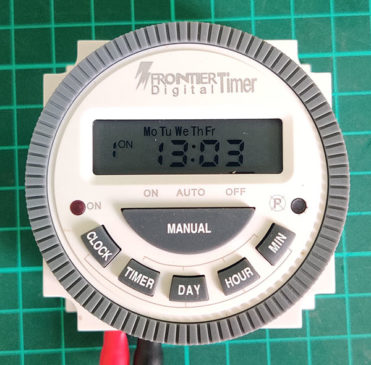
Step.7. Also, if you want to change the timing format during mid-execution, then just press the “CLOCK” button for 3 seconds. The digital timer will automatically convert all the stored event timings from 12-hour to 24-hour format or vice-versa.
Figure 19: Step-4.A.b
Figure 20: Step-7.2
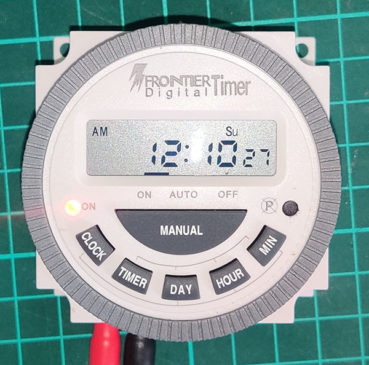
Step.8. Finally, if you want to manually operate the timer, just press the “MANUAL” button and alternate between the ON, AUTO, and OFF states.
Figure 21: Manual-ON
Figure 22: Manual-OFF
