Introduction
Accurate timekeeping is crucial for electronics and IoT projects. A Real-Time Clock (RTC) is essential for maintaining precise time, especially during power outages. However, more than relying solely on the RTC module might be required for long-term projects due to drift over time. This is where Network Time Protocol (NTP) comes in. By synchronizing the RTC with an internet time server, you can ensure that your system stays perfectly in sync, regardless of how long it runs.
In this guide, we’ll show you how to set up a Real-Time Clock using ESP32 and an RTC DS3231 module, with the added benefit of NTP synchronization. Whether you’re new to electronics or an experienced developer, this tutorial will help you create a system that maintains precise and reliable time in all conditions.
Components Required
- ESP32 (Main microcontroller)
- DS3231 RTC Module (Accurate real-time clock)
- 20×4 I2C LCD Display (To display time)
- Jumper wires
- Breadboard (optional)
Circuit Description
In this setup, the DS3231 RTC and the I2C LCD share the I2C communication protocol, using the same SDA (data line) and SCL (clock line) pins on the ESP32. This reduces the number of GPIO pins required and simplifies the wiring.
Checkout the article on How to interface RTC module with Arduino and ESP Board
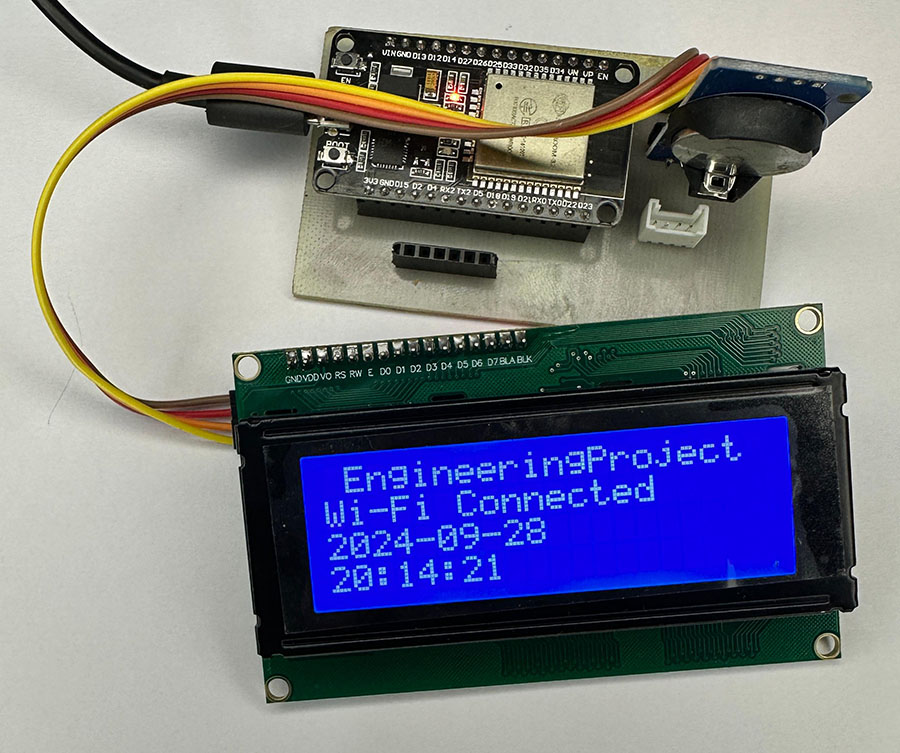 Figure 1: Real-Time Clock (RTC) with ESP32 and DS3231 Using NTP Time Synchronization
The ESP32 communicates with the RTC to retrieve the time and display it on the LCD. Additionally, the ESP32 synchronizes with an NTP server over Wi-Fi to keep the time accurate.
Circuit Connections
Below is the wiring guide for connecting the ESP32, DS3231, and I2C LCD.
| Component | Pin | ESP32 Pin |
| DS3231 | SDA | GPIO 21 |
| DS3231 | SCL | GPIO 22 |
| DS3231 | VCC | VIN or 3.3V |
| DS3231 | GND | GND |
| I2C LCD | SDA | GPIO 21 |
| I2C LCD | SCL | GPIO 22 |
| I2C LCD | VCC | VIN |
| I2C LCD | GND | GND |
Code Walkthrough
Libraries Used
- Wire.h: Enables I2C communication.
- LiquidCrystal_I2C.h: Controls the I2C LCD display.
- WiFi.h: Manages the Wi-Fi connection.
- NTPClient.h: Synchronizes time with an NTP server.
- RTClib.h: Interacts with the DS3231 RTC.
|
1 2 3 4 5 6 7 8 9 10 11 12 13 14 15 16 17 18 19 20 21 22 23 24 25 26 27 28 29 30 31 32 33 34 35 36 37 38 39 40 41 42 43 44 45 46 47 48 49 50 51 52 53 54 55 56 57 58 59 60 61 62 63 64 65 66 67 68 69 70 71 72 73 74 75 76 77 78 79 80 81 82 83 84 85 86 87 88 89 90 91 92 93 94 95 96 97 98 99 100 101 102 103 104 105 106 107 108 109 110 111 112 113 114 115 116 117 118 119 120 121 122 123 124 125 126 127 128 129 130 131 132 133 134 135 136 137 138 139 140 141 142 143 144 145 146 147 148 149 150 151 152 153 154 155 156 157 158 159 160 161 162 163 164 165 166 167 168 169 |
#include <Wire.h> #include <LiquidCrystal_I2C.h> // For LCD #include <WiFi.h> // For Wi-Fi connection #include <NTPClient.h> // For NTP sync #include <WiFiUdp.h> // For NTP communication #include "RTClib.h" // For DS3231 RTC // Wi-Fi credentials const char *ssid = "amitsherstha221_2"; const char *password = "CLB2AA4F79"; // Time server details const char *ntpServer = "pool.ntp.org"; const long gmtOffset_sec = 20700; // Nepal Time (GMT +5:45 in seconds) const int daylightOffset_sec = 0; // No DST in Nepal RTC_DS3231 rtc; // Create RTC object WiFiUDP ntpUDP; // UDP instance for NTP NTPClient timeClient(ntpUDP, ntpServer, gmtOffset_sec, 60000); // Sync every minute LiquidCrystal_I2C lcd(0x27, 20, 4); // LCD address 0x27, 20 columns, 4 rows String scrollMessage = "Best EngineeringProject "; int scrollPosition = 0; void setup() { // Start serial and I2C communication Serial.begin(115200); Wire.begin(); // Initialize the LCD lcd.init(); lcd.backlight(); // Initialize DS3231 RTC if (!rtc.begin()) { Serial.println("Couldn't find RTC"); while (1); } if (rtc.lostPower()) { Serial.println("RTC lost power, setting time!"); rtc.adjust(DateTime(F(__DATE__), F(__TIME__))); // Set the time to compile time as fallback } // Display initial message on LCD lcd.clear(); lcd.setCursor(0, 0); lcd.print("WiFi Connecting"); // Connect to Wi-Fi connectToWiFi(); // Initialize NTP timeClient.begin(); } void loop() { // Sync with NTP server if connected to the internet if (WiFi.status() == WL_CONNECTED) { timeClient.update(); unsigned long epochTime = timeClient.getEpochTime(); DateTime ntpTime = DateTime(epochTime); // Convert epoch to DateTime format rtc.adjust(ntpTime); // Update RTC with NTP time } // Get current time from RTC DateTime now = rtc.now(); // Display scrolling message in the first row scrollMessageOnLCD(); // Display Wi-Fi status in the second row displayWiFiStatus(); // Display date in the third row displayDate(now); // Display time in the fourth row displayTime(now); delay(1000); // Adjust as needed } void displayWiFiStatus() { lcd.setCursor(0, 1); // Set cursor to the second row if (WiFi.status() == WL_CONNECTED) { lcd.print("Wi-Fi Connected"); } else { lcd.print("WiFi Not Connected"); } } void displayDate(DateTime now) { lcd.setCursor(0, 2); // Set cursor to the third row // Add leading zero for month and day if they are less than 10 String month = (now.month() < 10) ? "0" + String(now.month()) : String(now.month()); String day = (now.day() < 10) ? "0" + String(now.day()) : String(now.day()); // Display the formatted date lcd.print(now.year()); lcd.print("-"); lcd.print(month); lcd.print("-"); lcd.print(day); } void displayTime(DateTime now) { lcd.setCursor(0, 3); // Set cursor to the fourth row // Add leading zero for hour, minute, and second if they are less than 10 String hour = (now.hour() < 10) ? "0" + String(now.hour()) : String(now.hour()); String minute = (now.minute() < 10) ? "0" + String(now.minute()) : String(now.minute()); String second = (now.second() < 10) ? "0" + String(now.second()) : String(now.second()); // Display the formatted time lcd.print(hour); lcd.print(":"); lcd.print(minute); lcd.print(":"); lcd.print(second); } void scrollMessageOnLCD() { lcd.setCursor(0, 0); // Set cursor to the first row // Display part of the scrolling message String displayPart = scrollMessage.substring(scrollPosition, scrollPosition + 20); // Display 20 characters lcd.print(displayPart); // Update scrolling position scrollPosition++; if (scrollPosition > scrollMessage.length() - 20) { scrollPosition = 0; // Reset to the beginning } } void connectToWiFi() { Serial.println("Connecting to Wi-Fi..."); WiFi.begin(ssid, password); unsigned long startAttemptTime = millis(); // Record the start time // Loop until Wi-Fi is connected or 30 seconds have passed while (WiFi.status() != WL_CONNECTED && millis() - startAttemptTime < 30000) { delay(500); // Small delay to avoid flooding output // Display a connecting animation on LCD (dots) on second row lcd.setCursor(0, 1); lcd.print("WiFi Connecting..."); } // Check if connected after the timeout if (WiFi.status() == WL_CONNECTED) { Serial.println("\nWi-Fi connected."); lcd.clear(); lcd.setCursor(0, 1); lcd.print("Wi-Fi Connected"); } else { Serial.println("\nFailed to connect to Wi-Fi within 30 seconds."); lcd.clear(); lcd.setCursor(0, 1); lcd.print("WiFi Not Connected"); } delay(2000); // Display the connection result for 2 seconds } |
setup()
In the setup() function, we initialize the RTC, ESP32 Wi-Fi, and NTP synchronization. This function also establishes communication with the 20×4 LCD.
loop()
The loop() checks the Wi-Fi status, updates the time via NTP, and retrieves the current time from the DS3231 RTC if the connection is successful. It then displays the time and a scrolling message on the LCD.
Displaying Time on the LCD
You can display the time in the format HH:MM:SS and scroll to a custom message in the top row.
Setting Up NTP Synchronization
Network Time Protocol (NTP) ensures that the time on your device stays accurate over the long term. In this section, you’ll learn how to set up NTP with the ESP32 and synchronize it with a reliable time server.
Conclusion
Setting up an RTC with ESP32 and NTP synchronization ensures that your project maintains accurate timekeeping, even during power outages. This setup is essential for many IoT and smart systems where precision timing is crucial.
By following this guide, you’ve learned how to:
- Wire the DS3231 RTC and I2C LCD to the ESP32.
- Set up NTP synchronization for accurate time.
- Display the current time on an LCD screen.
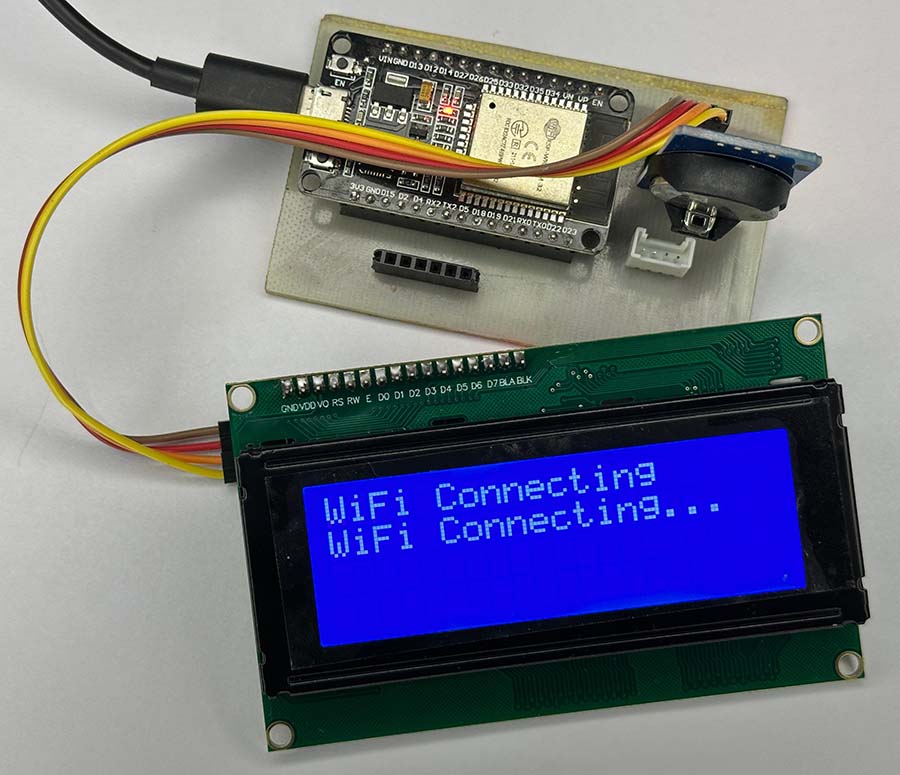
Figure 2: Wi-Fi Connecting
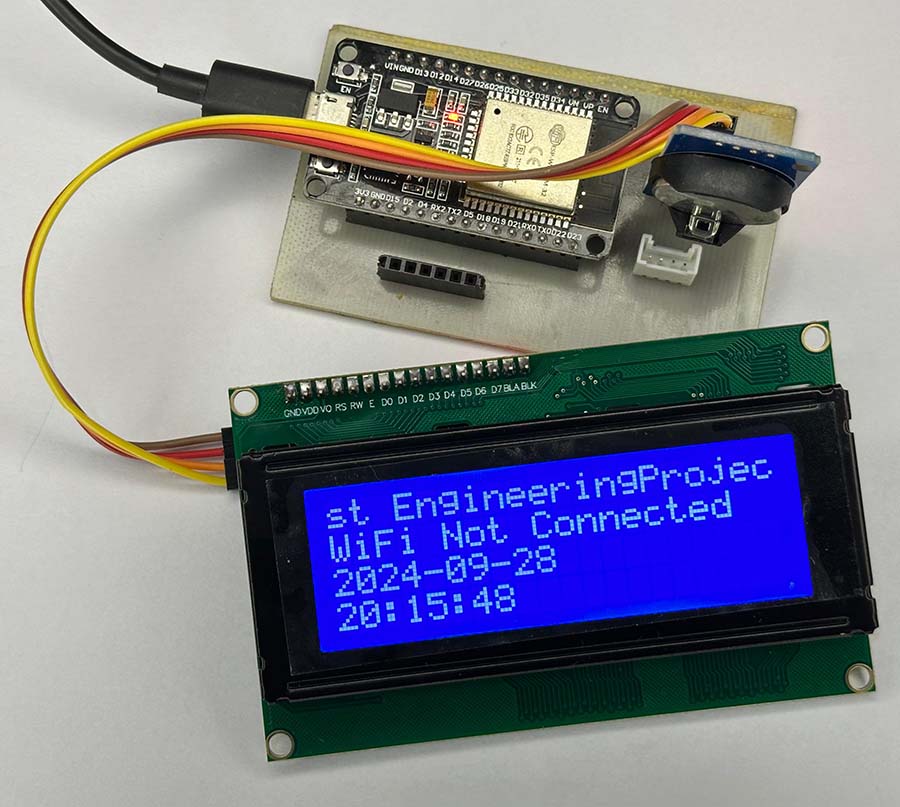
Figure 3: Time when Wi-Fi is not connected
I have been retired a little over four years. It is great to see your logo again. I had followed your Engineering Projects Posts for a long time. The contents in this project are much clearer. Thank you for all your dedicated work that help a lot people like me.
Thank you so much for your kind words and long-time support! It’s wonderful to hear that you’ve been following the Engineering Projects for so long, and I’m glad you found the content in this project clearer and helpful. Your appreciation means a lot, and it’s feedback like yours that keeps me motivated to continue creating valuable resources. Enjoy your retirement, and feel free to reach out anytime!
Hi,
Works fine!
How can I modify the sketch, to start up with the time, date, etc. with battery in the RTC.
With no internet (Wi-Fi) connection on switch on, there is no display.
If the Wi-Fi fails when the unit is running, the time continues to move on.
How can I display the time/ date from either the Wi-Fi connection or the RTC on startup?